How to Install a Diffuser with a Brake Light: A Step-by-Step Guide
Share
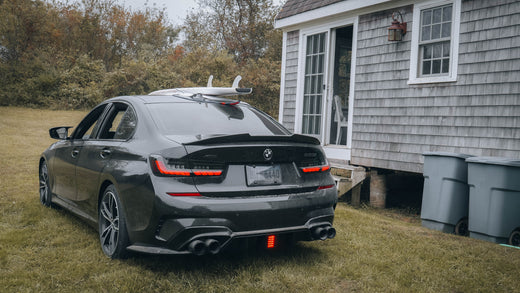
Adding a diffuser with an integrated brake light is an awesome way to boost your car's visibility, enhance its curb appeal, and add a personalized touch. It’s a straightforward mod that can be tackled by anyone with basic tools and some patience. That said, take your time and follow the steps carefully to avoid mistakes or electrical issues.
What You’ll Need
- Basic socket set (10mm and 8mm sockets)
- Screwdriver set
- T-taps for wiring
- Electrical tape
- Trim removal tools (optional, but helpful)
Step 1: Remove the Rear Bumper
- Locate the 10mm screws underneath your car’s OEM rear bumper and remove them.
- Carefully pop out the existing diffuser from its plastic clip holders.
- Remove the bumper and set it aside on a soft surface to avoid scratches.
Step 2: Install the New Diffuser
- Place the new diffuser onto the bumper and gently clip it into place.
- Hold off on screwing it in—you’ll need to run the wiring first.
Step 3: Remove a Tail Light
- Choose the left tail light for wiring convenience.
- Remove the trunk’s upper trim to access the tail light bolts.
- Unscrew the 10mm and 8mm bolts securing the tail light.
- Disconnect the tail light harness and carefully remove the tail light to expose the wiring.
Step 4: Wiring the Diffuser Brake Light
-
Identify the three wires on the diffuser:
- Black: Ground wire
- Red: Strobe brake light feature
- Yellow: Constant-on brake light
-
Use T-taps to connect the diffuser wires to the brake light harness:
- Connect the Black (ground) wire to the Brown wire on the brake light harness.
- Connect either the Red (strobe) or Yellow (constant-on) wire to the Purple/White wire on the brake light harness, depending on your preferred brake light behavior.
-
Wrap all connections securely with electrical tape to protect them from water and ensure a reliable connection.
Step 5: Reassemble the Car
- Reconnect the tail light and secure it with the original bolts.
- Test the brake light to make sure everything is functioning as expected.
- Bolt in the diffuser and reattach the bumper to the car.
Final Checks
Double-check all connections and ensure everything is securely fastened. Once everything is in place, step back and admire your new diffuser!
This mod not only upgrades your car's looks but also adds a practical layer of safety. Enjoy the new style—and those head-turning looks on the road!